Working with metallic embroidery floss was something I have tended to shy away from at times because it can be a bit trying! (Anyone who’s worked with it knows what I’m talking about!) In spite of requiring extra patience, it’s pretty cool and can add a luxurious feel to your work, or some subtle vibrancy to your embroidery details.
DMC makes a few different types of metallic thread - you can check out DMC’s website for more information on all of them. I’ll just be focusing on the Light Effects collection here. Light Effects comes in 36 different colors, from precious metals such as gold and silver to pearlescents and a variety of jewel tones, such as purple or green. They even have a few variegated threads and some fluorescent and glow-in-the-dark varieties! Light Effects is a six-strand thread, which can be divided like other skeins of six-stranded floss.
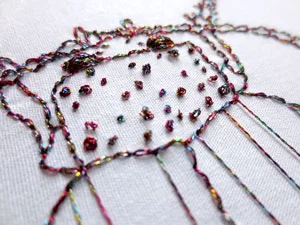
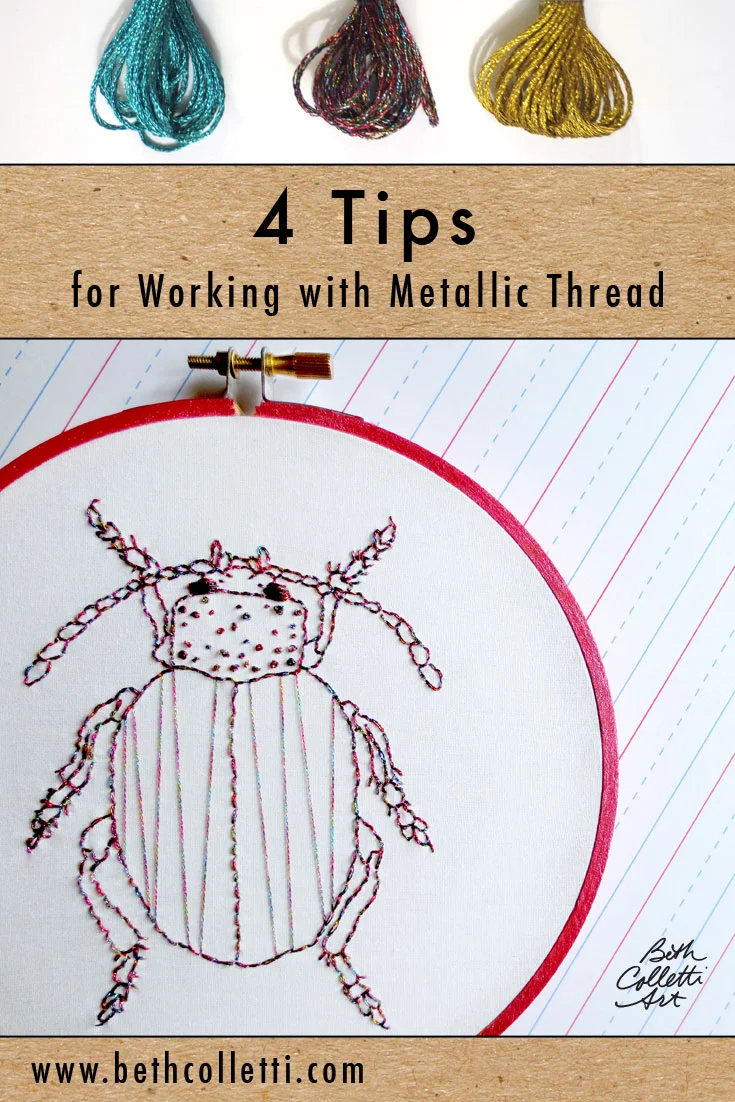
I chose to use a Light Effects thread on my beetle recently, not so much because I was going for a glamorous feel, but more because I wanted to capture the iridescent quality of the beetle’s exoskeleton, and the metallic thread worked really nicely for this.
As I mentioned earlier, working with metallic thread can be challenging. Light Effects thread is 100% polyester and the metallic part of the thread overlays a softer core. As the thread is pulled repeatedly through the fabric, the friction on the thread can cause the metallic outer layer to gradually separate from its core. As a result, knotting can occur, and you tend to lose a certain amount of the thread closest to the eye of the needle, so be ready to clip it periodically as you stitch.
Here are a few tips for working with metallic floss:
Work with short strands. When I work with metallic floss, I tend to use a shorter length than I would normally stitch with. Since metallic floss can be prone to knotting, this helps keep the thread in order. The longer the thread length, the more the end near the eye of the needle will be subjected to friction as you stitch.
Clip excess floss often. When you hand stitch, the free end of the floss can get tangled at times, and you may need to clip a little of it on occasion if it keeps getting knotted - this will give you a clean end to pull through the fabric. This is especially true for metallic thread - you may find that you have to clip more of the end than normal, and so you will probably use more of your skein than you would if you were stitching with regular cotton six-strand embroidery floss.
Work with fewer strands at once. In my experience, the fewer strands you stitch with, the less frustrating it will be. I like to split my skein down to 2 or 3 strands when stitching with metallic floss. Stitching with all 6 strands can get a little hairy, though it is certainly possible.
Bigger needles are better. Using a larger needle will help bring the thread through the fabric with less friction, so when I stitch with only 2 or 3 strands of metallic, I tend to use a larger size needle than I normally would (if I was stitching with cotton floss). For a variety of darning needles, visit DMC’s website.

So here is a pic of my finished beetle - I was pretty happy with how the metallic thread turned out. He’s up in my Etsy shop if you want to take a closer look!
What about you? What are your experiences with metallic thread - would you add any other tips to this list? What sort of projects have you tackled with it?