(I am an Amazon Associate and from time to time will use affiliate links for products that I love, or that I think you will find useful.)
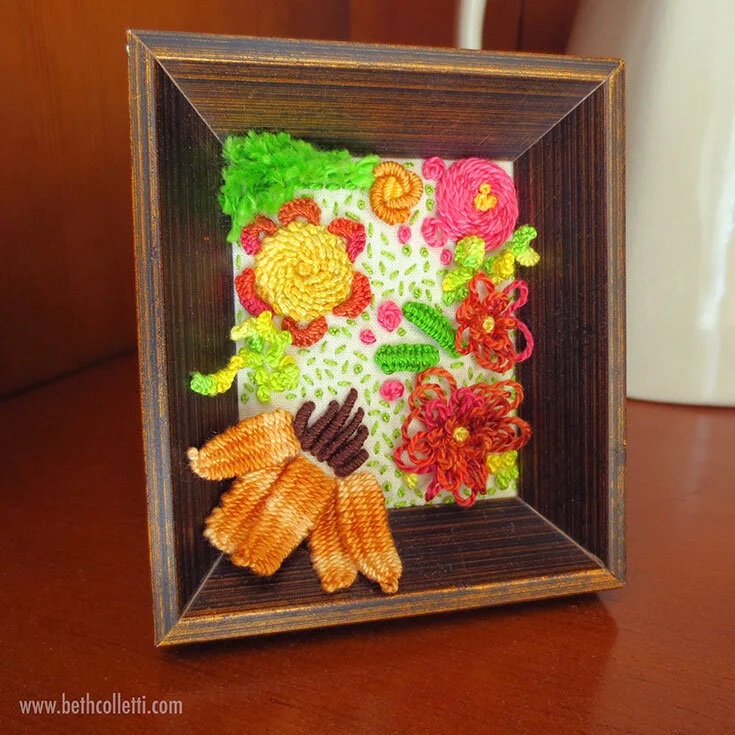
I love finding creative ways to display hand embroidery and there are so many ways to show off your stitches without keeping them in a hoop. In the past I’ve written about how you can use a shadow box to frame your embroidery so the stitches don’t get crushed, but you can also use your frame as if it was part of your artwork, allowing your stitches to spill over the edges. This quick and easy method for displaying dimensional embroidery can be used with any picture frame that you might have around your home, find at a yard sale, or purchase at store.
Supplies Needed
Frame of your choosing
Piece of cardboard that fits into your frame or adhesive mounting board (if your frame didn’t come with any cardboard)
Fabric
Embroidery hoop big enough for your project
Needle and thread for your project
Scissors
Step 1 - Prep your project
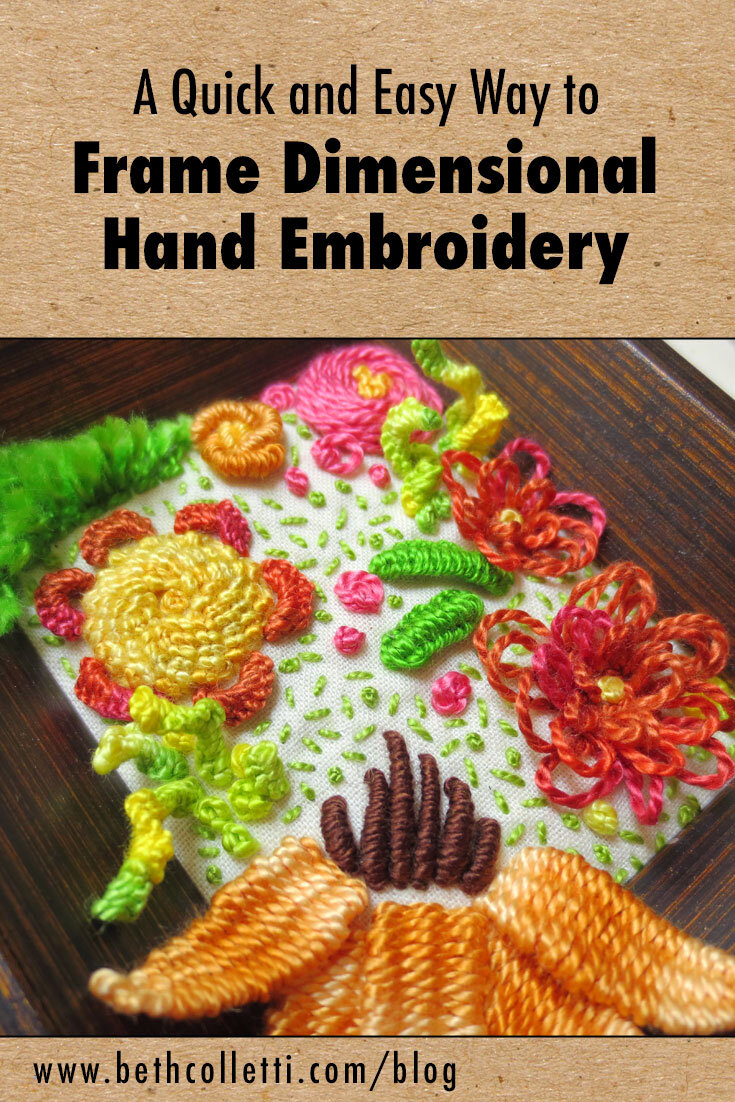
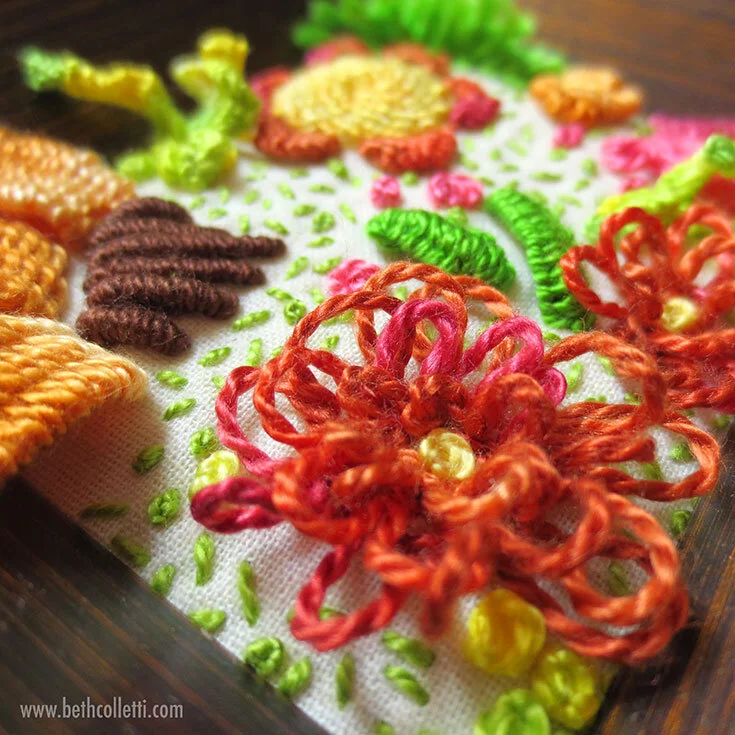
First take the backing off of your frame and remove any glass and cardboard. In this case, we are going to allow our stitches to spill out of the front of the frame so we don’t want to use the glass. Next, place your frame facedown on your fabric and trace around the inside of the frame opening with your transfer pen. This line marks the area where your embroidery will be visible in the frame. Once you have your space marked out, sketch out your design with the transfer pen. Think about how you can use dimensional stitches such as bullion knots, spider wheel roses or woven picots in your embroidery so they will stand up off of the fabric.
Step 2 - Position your finished embroidery over your cardboard
Once you’ve finished your stitching, rinse out your transfer pen marks and let your embroidery dry. Take the cardboard that came with the frame, or a piece of mounting board cut to size and center your embroidery on it, wrapping the extra fabric around the back. (Note: If your frame did not come with cardboard, you can use the frame backing to trace the cardboard size that you’ll need.) If you’d like you can trim off excess fabric from your finished embroidery and secure it in the back of the cardboard. However I simply folded mine over so the frame backing would keep it in place.
Step 3 - Put your embroidery in your frame
Finally, put your cardboard-backed embroidery in the frame and make sure it’s centered before putting the frame’s backing in place. Arrange any textural stitches as desired to lay over the frame’s edge, and your embroidery art is ready to display!
Arrange any textural stitches to lay over the frame’s edge.