Whether you are new to embroidery or an experienced stitcher, I wanted to offer some some fun projects you can do with your embroidery project once you’ve finished your stitching.
Think outside the hoop
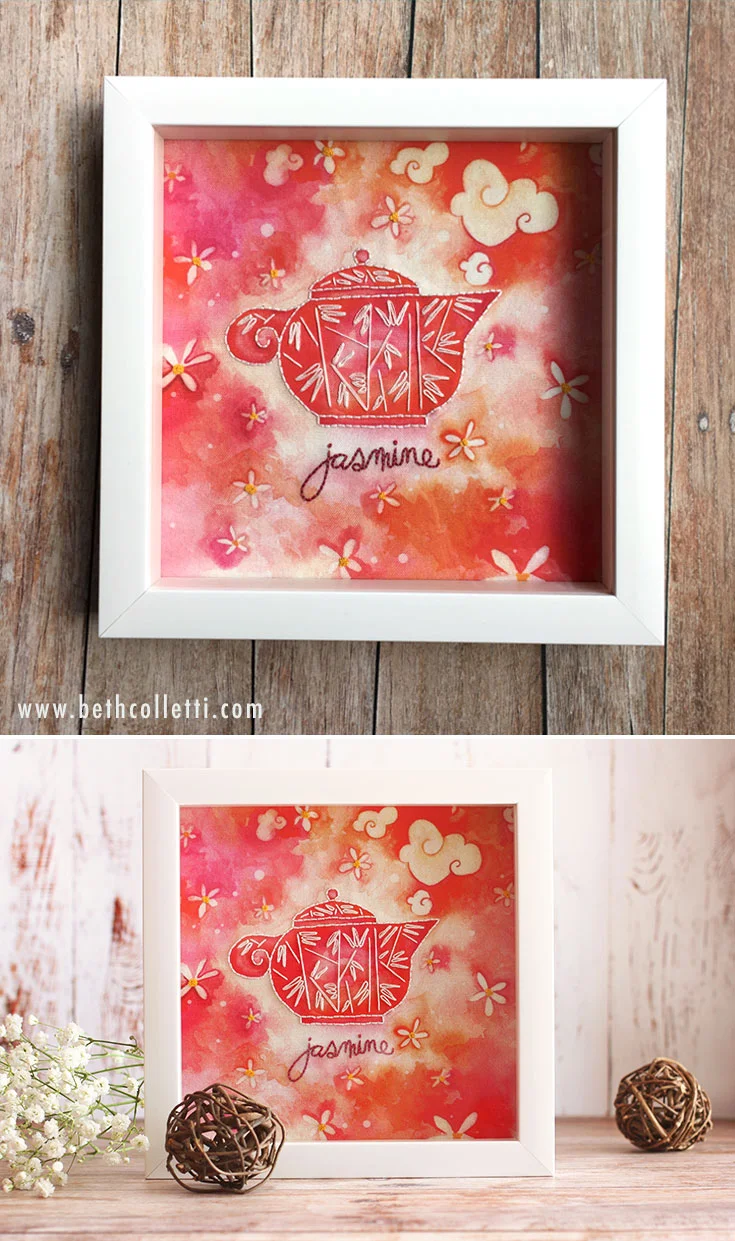
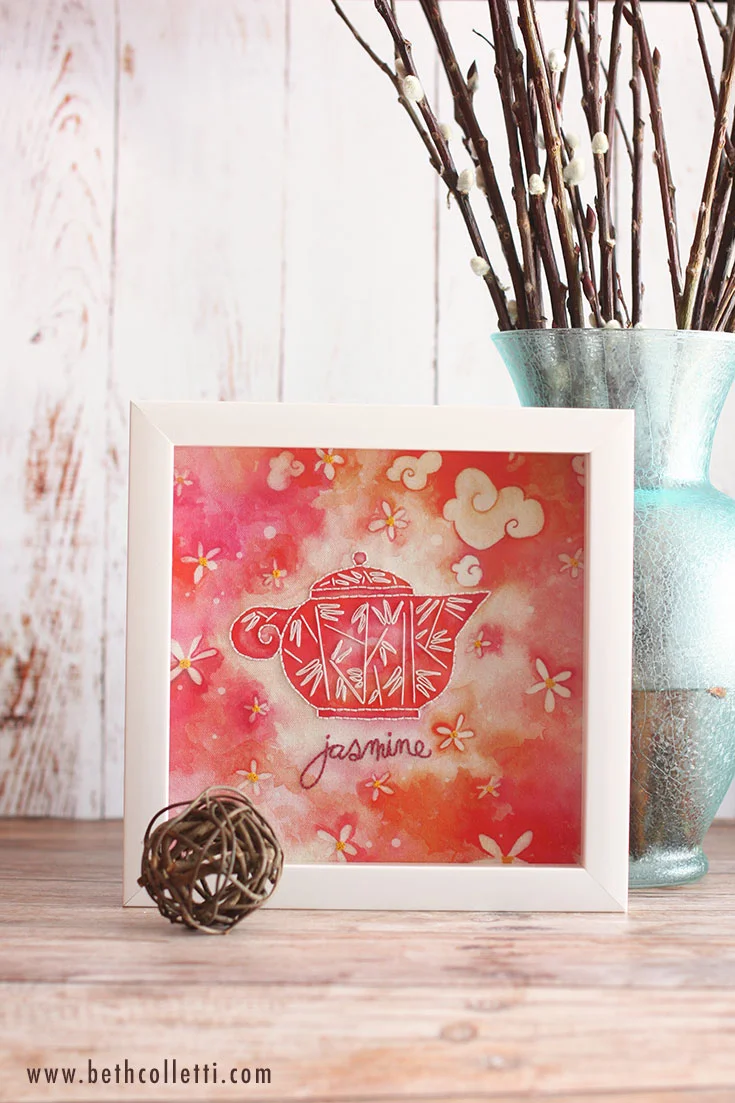
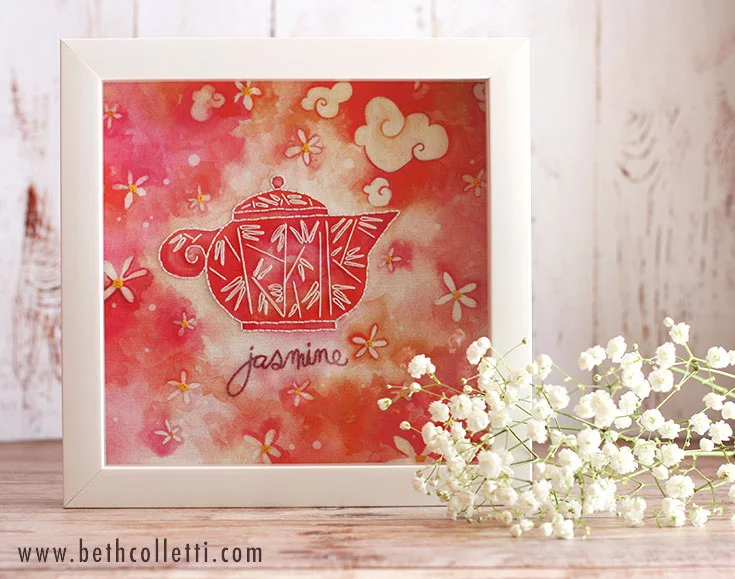
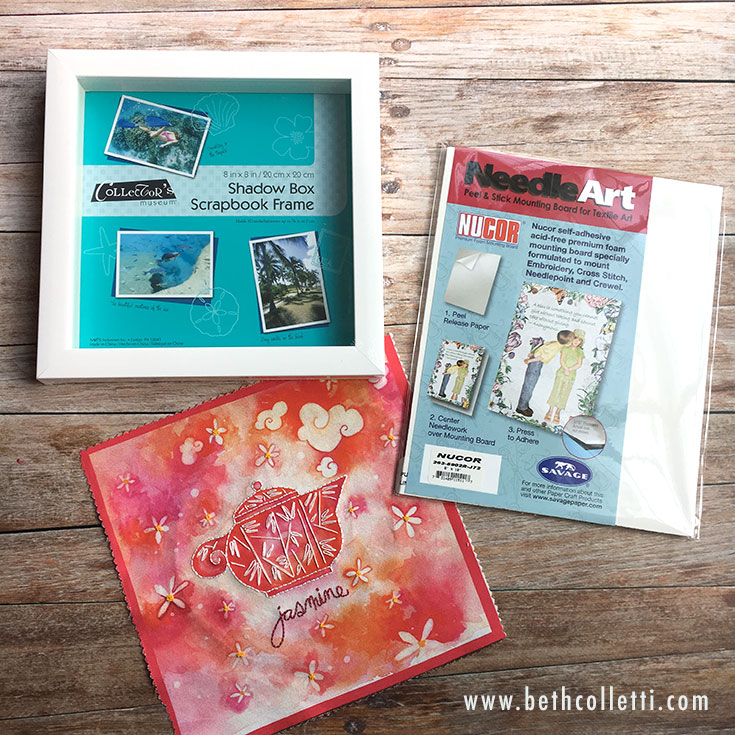
Finished embroidery projects can be fun to display in a hoop, but they also look great framed. Today I’ll be walking you through a simple way to frame my tea kits.
Supplies Needed
8x8 inch frame (I chose a shadowbox style)
NuCor Self-Adhesive 9"x12" Mounting Board or other thin peel-and-stick foam core
Cutting mat
Exacto knife
Metal ruler
Pencil
Masking Tape
Finished embroidery art
For this project, I purchased my frame and mounting board at a Jo-ann Fabric and Craft Stores®, but most craft stores probably carry these supplies. Alternatively you can find these on Amazon, but they may be cheaper at a craft store.
Step 1 - Iron your project
To prep my fabric for framing, I first ironed it to get out any wrinkles from the embroidery hoop. Should your fabric need ironing, turn it over so that you are ironing the reverse of the fabric and stitches. A medium heat setting with steam is recommended for this linen-cotton blend.
Step 2 - Cut your mounting board to size
I decided I wanted to frame my finished embroidery in a shadowbox style frame so the stitches would not press against the glass. The depth of the frame is about 1.5” so can also sit nicely on a shelf, which is how I planned to display my project.
(Note: You can also use a regular frame, but may want to consider adding a mat to allow the embroidery some breathing room. In this case, choose a larger frame, such as a 10”x10” with an 8”x8” opening in the mat for the embroidery.)
The NuCor self-adhesive mounting board I purchased came in a 9”x12” size. I like this board because it’s acid-free, thin and slightly tacky so the fabric won’t shift on it too easily. However it was too large for the 8”x8” frame as is, so I had to trim it down to size. If you can’t find this self-adhesive mounting board, another type of rigid board will do. I recommend something acid free if you can find it, and a depth of no more than ⅛” so it can fit into the back of the frame.
I popped off the back of my frame to use as a template for the mounting board and traced the edges with a pencil. Then using my cutting board, exacto knife and metal ruler, I removed the excess.
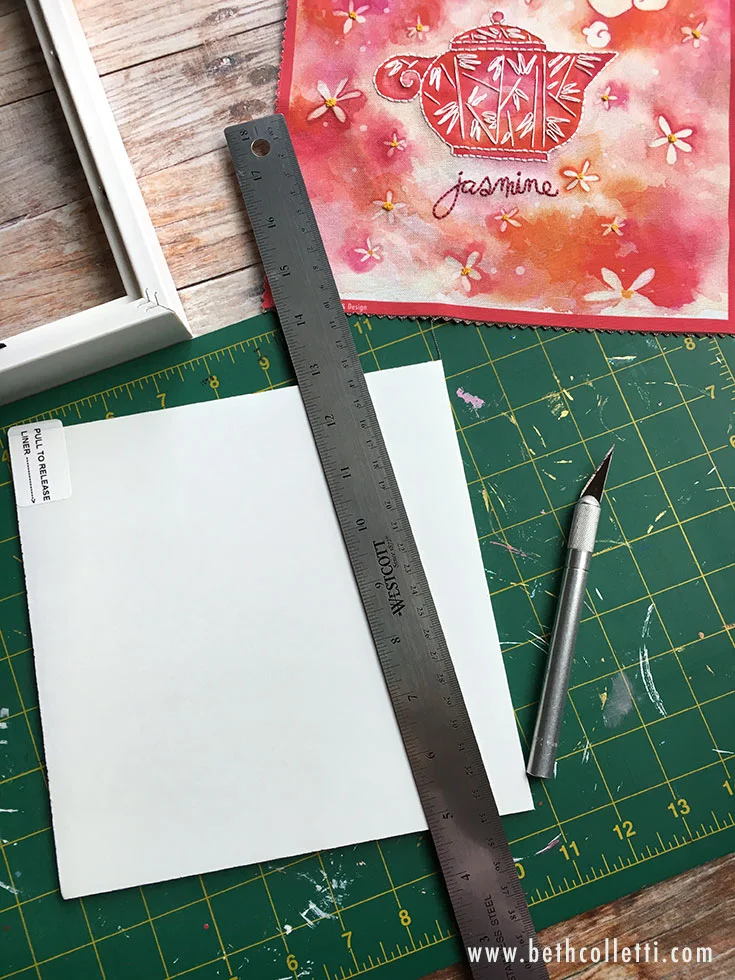
Trim your mounting board to fit in your frame.
Step 3 - Position and secure your fabric
Once you have your mounting board cut, flip over your ironed embroidery project so the wrong side is facing up. Peel off the backing from your mounting board and with the adhesive facing down toward the wrong side of the fabric, center your board on your embroidery. Lastly, flip the board and fabric over and smooth out any wrinkles as needed. The adhesive is just tacky enough that you can adjust the fabric.
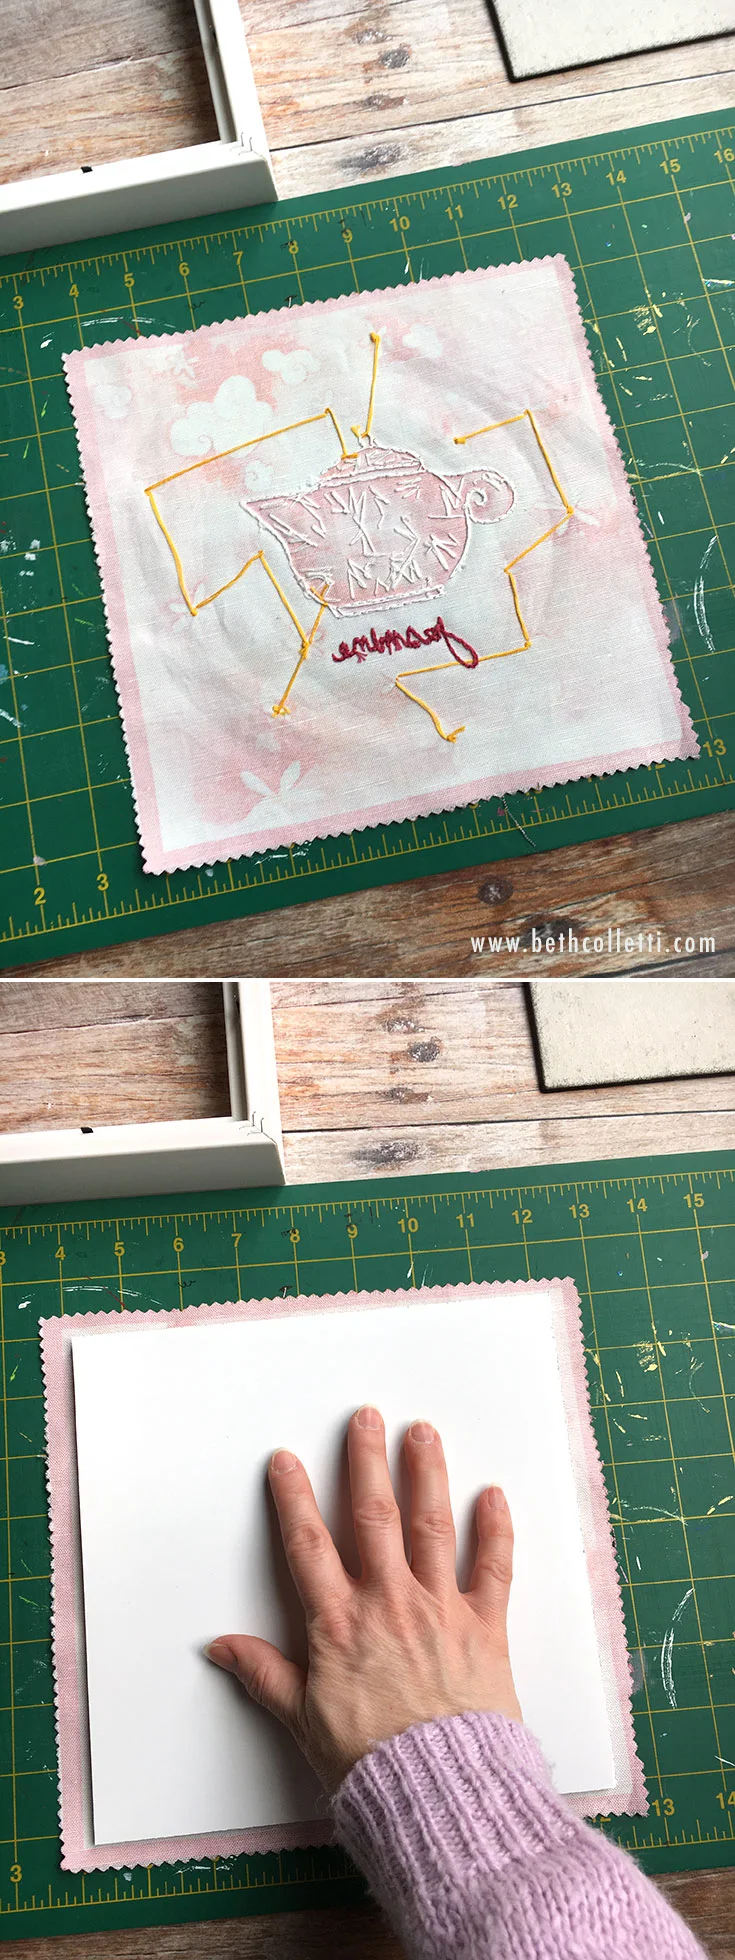
Center the mounting board onto your fabric with the adhesive facing down.
To secure your fabric in place, turn the board over and fold the extra fabric over each edge. I used a length of masking tape to hold the loose edges in place, with an extra piece in the corners as I folded them over.
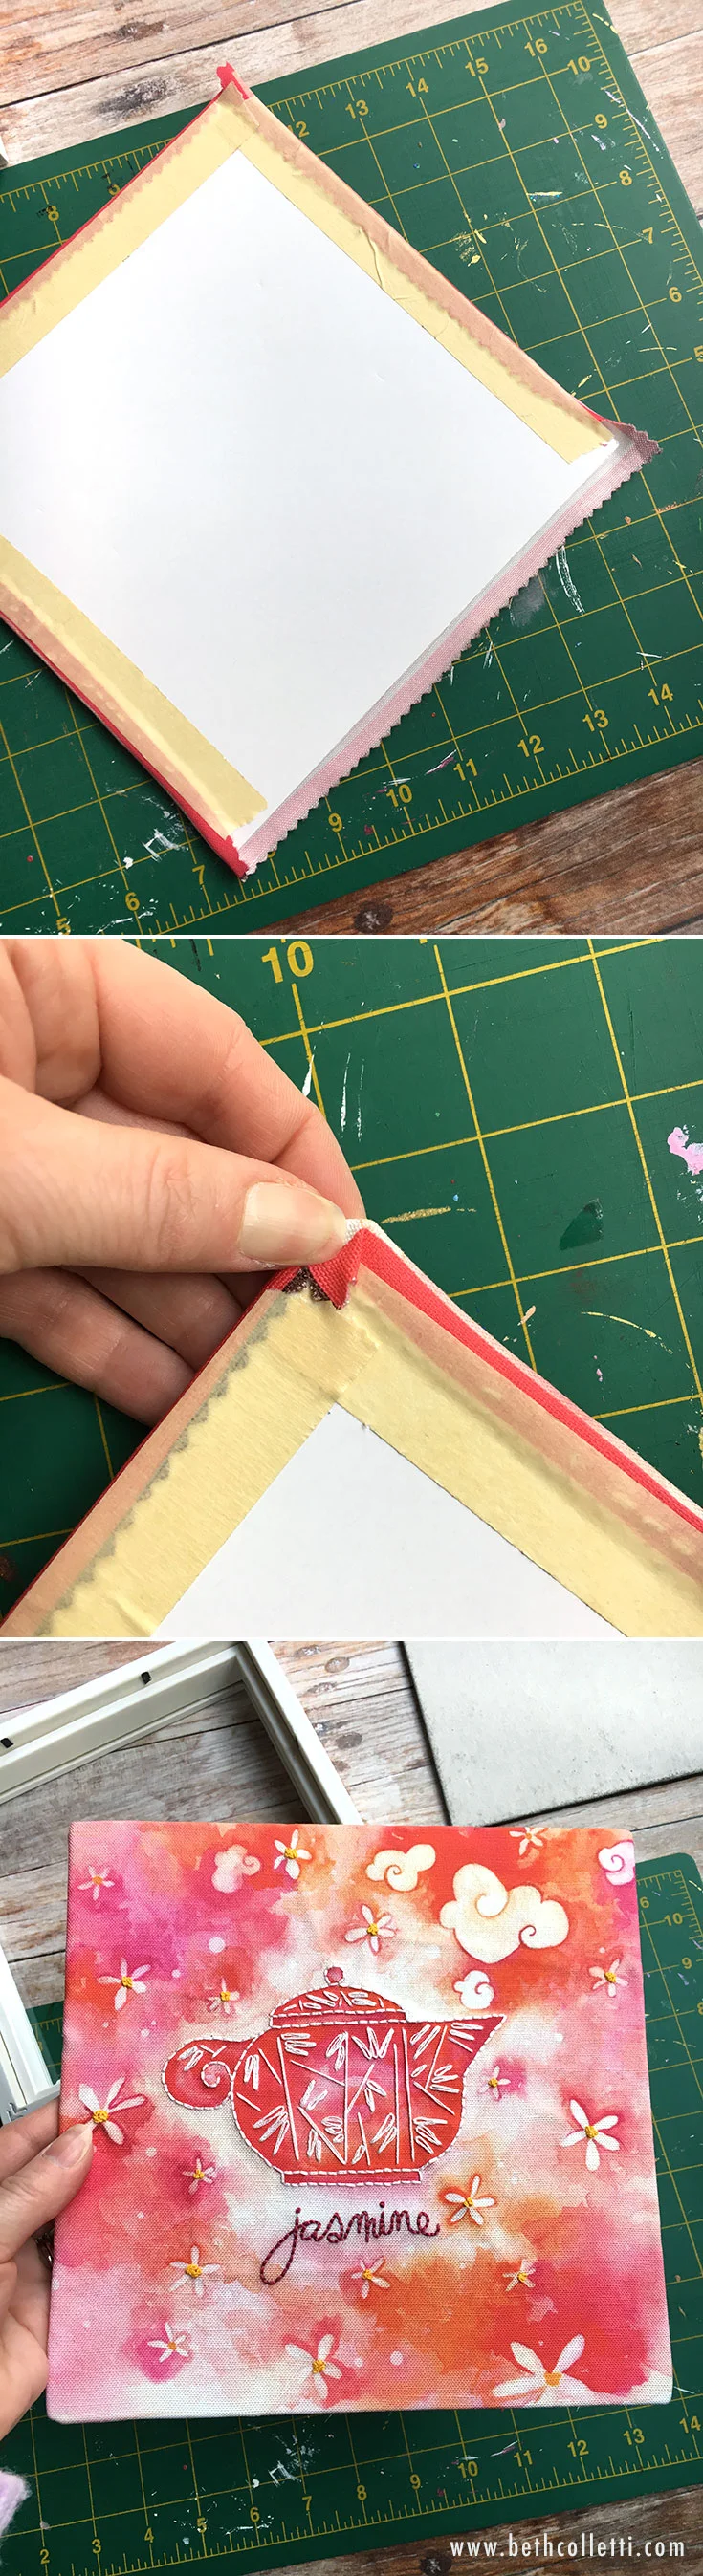
Use masking tape to secure the edges of your embroidery art on the back of the mounting board.
Step 4 - Put your embroidery art in the frame
Finally I gently pushed the embroidery art into the frame. (Note: if your style frame has metal brackets to secure the back, be careful they don’t catch and tear the fabric.) Sit your shadowbox on a shelf, or hang it to display your DIY art!