If you’ve ever worked with felt and wanted to trace shapes to cut out, you may have noticed that the fuzzy texture can make it difficult to trace directly onto the fabric. Water soluble fabric pens don’t show up well on the surface of felt. Plus they can be risky when used on wool since water rinsing may cause shrinkage. Even some chalk pencils can catch too much on the textured surface of felt, making it impossible to make clear marks.
Alternatively, freezer paper is an easy-to-use method for tracing and cutting out clean shapes (even complex ones) from your felt. Whether you are working with polyester craft felt, a wool blend, or 100% wool felt, the freezer paper method for tracing shapes is the same. Be sure to grab a box from your grocery store for your next felt appliqué project and follow the steps below, or watch this quick video!
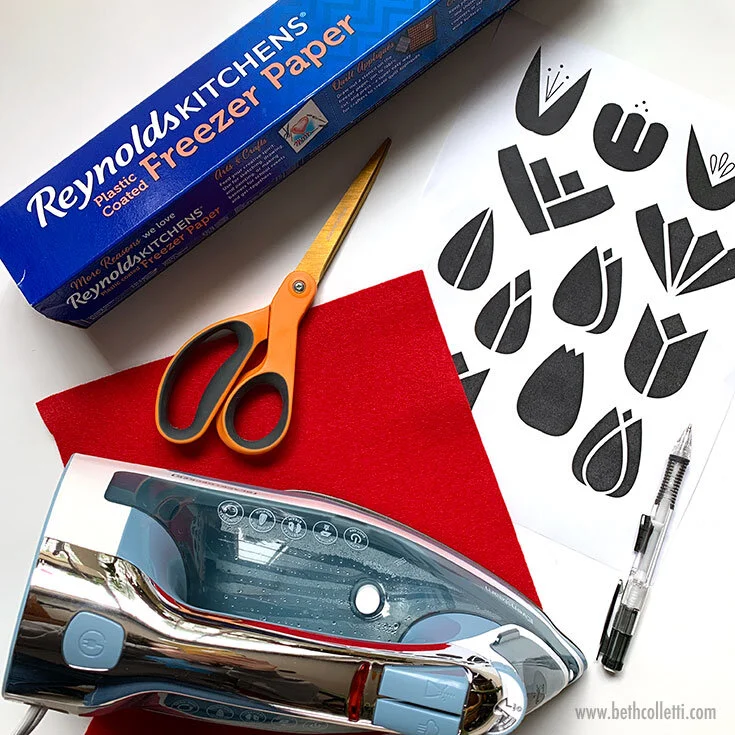
Supplies Needed
Felt (Craft felt, wool blend felt, or 100% wool felt)
Pattern or template that you want to trace
Pencil
Sharp Scissors
Iron
Ironing Board
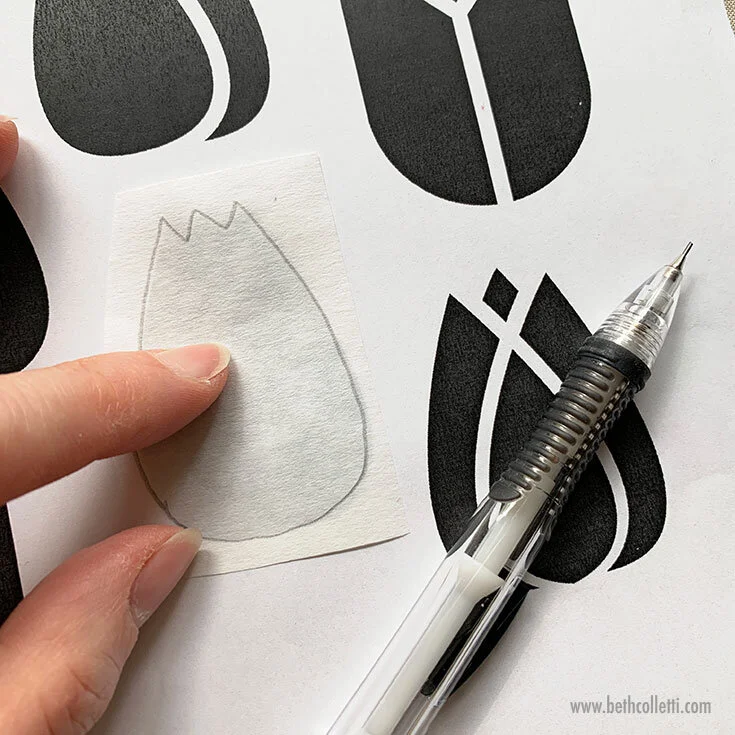
Step 1 - Trace your shapes
Freezer paper has two different surfaces. One side is waxy while the other side is like paper and can be written on. Once you have a template for the shape you want to cut out, put your freezer paper over top with the paper side facing up. Trace your shape on to the paper side of your freezer paper using a pencil. Using your scissors, cut around your shapes, leaving a bit of a margin around your pencil lines (about ⅛ inch to ¼ inch).
Step 2 - Iron your freezer paper onto your felt
Next, place your traced freezer paper on your felt with the waxy side down against the felt. Using an iron on medium heat (between the polyester and wool setting) without steam, press the freezer paper to your felt for two seconds. The waxy side should quickly form a temporary bond to your felt.

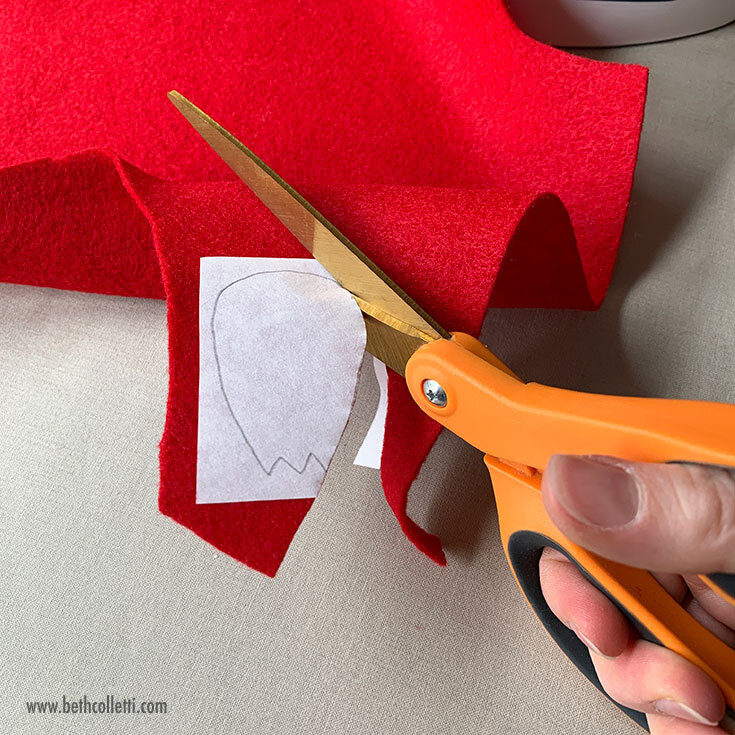
Step 3 - Cut out your shape
Now that your freezer paper is bonded to your felt, use a sharp pair of scissors to cut along your pencil lines. You’ll make a nice clean cut in your felt at the same time and have the shapes you need for your felt appliqué project.
Step 4 - Remove your freezer paper
Once you’re finished cutting out your shapes, the freezer paper will peel right off. You can use these pieces of freezer paper a few times on your felt, although I like to trace a fresh piece because I think the results are always cleaner when I cut through both the freezer paper and my felt together. Your felt pieces are now ready for your project!

(I am an Amazon Associate and from time to time will use affiliate links for products that I love, or that I think you will find useful.)