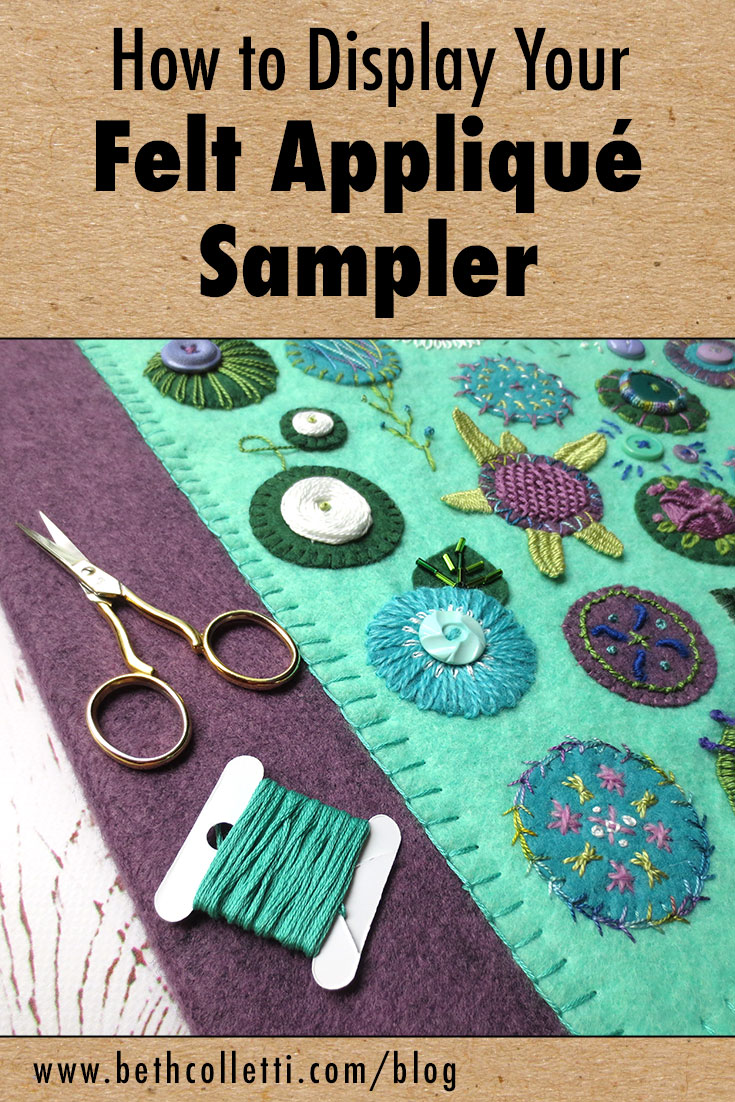
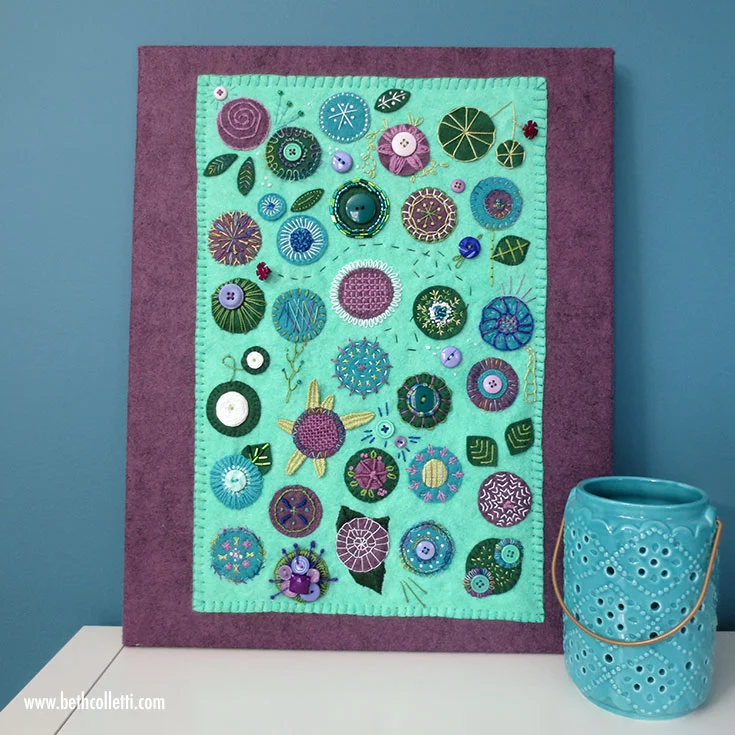
If you’ve been following along during the 30 Days of Felt Appliqué stitchalong, you might be wondering how you can display your hand appliqué sampler. Here is a quick and easy tutorial that transforms your felt appliqué into some beautiful wall art!
Supplies Needed
Finished felt sampler
Stretched canvas big enough to feature your artwork
A piece of background felt large enough to cover the front and sides of your canvas
4-8 large binder clips or bulldog clips
Ruler (optional)
Straight Pins
Thread
Needle
Felt for back of canvas (optional)
Sawtooth hanger (optional)
For this project, I followed a process similar to the one I used for this embroidery on stretched canvas tutorial, with a few modifications. Before purchasing supplies, be sure to measure your finished sampler so you know how large of a canvas to purchase. Then I purchased felt from Benzie Design for my background. This background felt will be glued over the canvas, so I needed to make sure the piece was large enough to cover both the front and sides of the canvas.
Step 1 - Iron your background felt.
To prep my background felt, I first pressed it well to remove any wrinkles. Check to see what your felt is constructed of before ironing and adjust your heat setting accordingly.
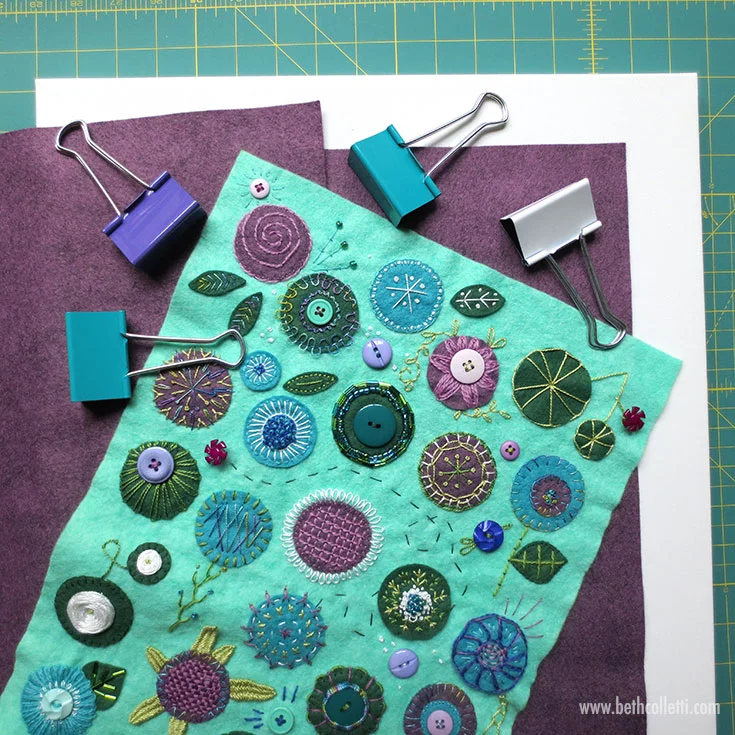
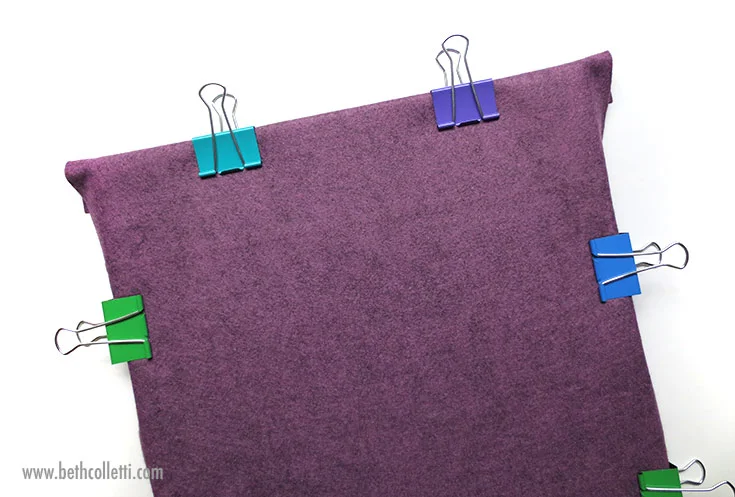
Step 2 - Measure, position and stretch your background felt.
Once you’ve pressed your felt background, lay it on your work table and put your canvas face down on top of it. The background felt should wrap around the side so it can be glued to the back of the canvas frame. If you have excess felt, like I did, use a fabric scissors or rotary cutter to remove the extra. Next grab one of your binder clips, and wrapping one edge of the background felt around your canvas frame, clip it in place along each edge of the frame. Repeat this with each of the four sides, tightening the felt as needed. You want your background fabric to be free of wrinkles.
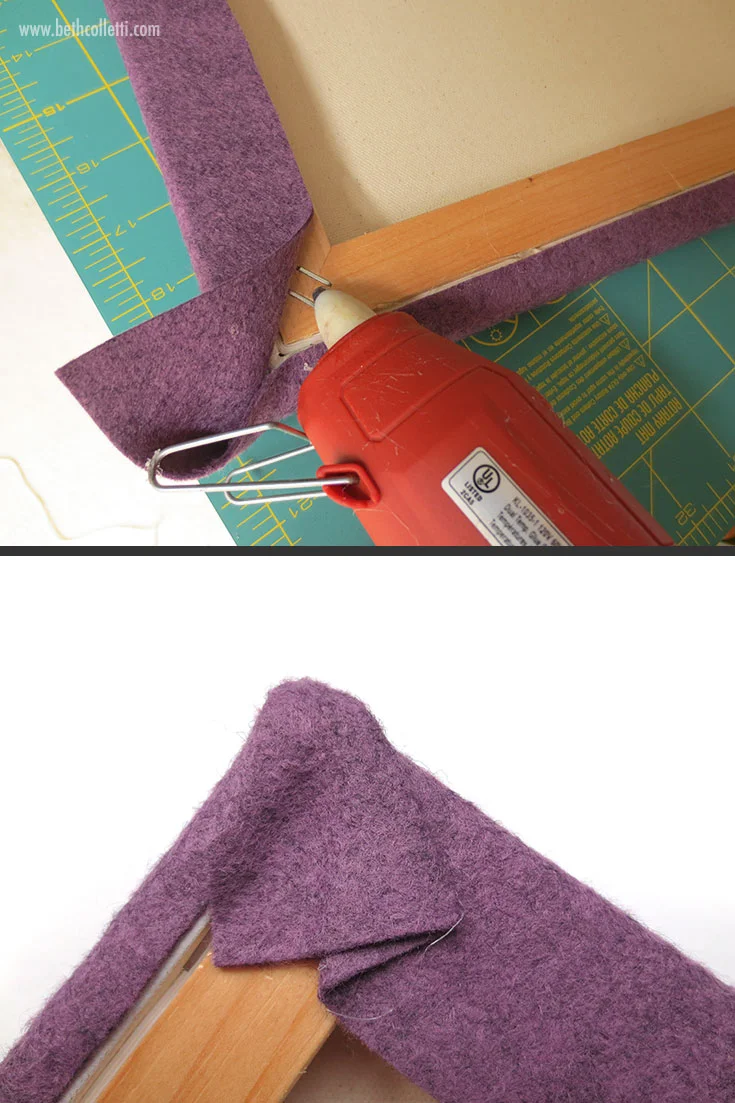
Step 3 - Glue the background felt to the canvas frame.
Grab your hot glue gun and begin gluing the edge of your felt down on the back of your canvas frame. For best results, glue on opposite sides (ie - first glue the top, then the bottom, then each side), rather than gluing around in a circle. Fold down each corner and glue the felt on the back of the canvas frame.
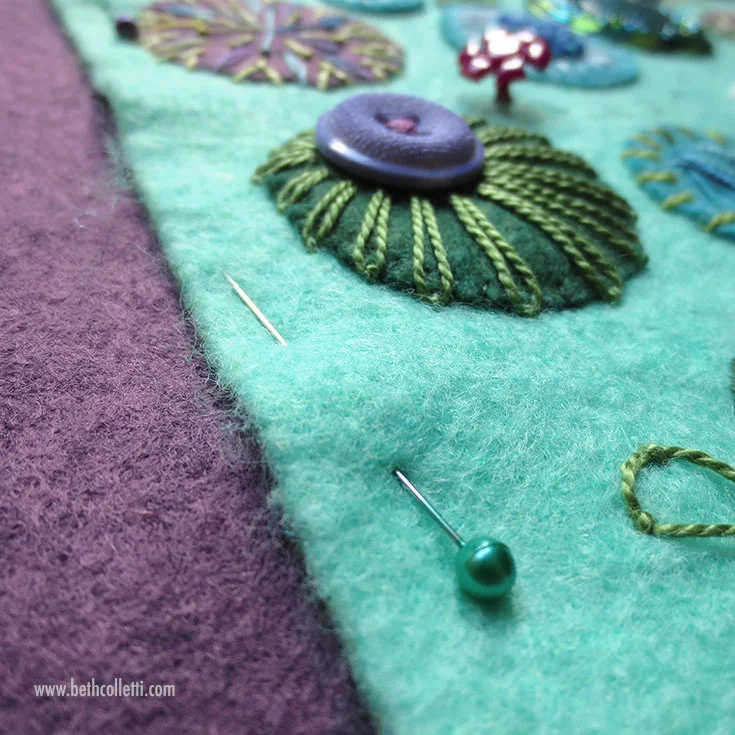
Step 4 - Pin and stitch the felt sampler art in place.
Once your background fabric is glued in place, turn your canvas over so the front is facing up. Center your finished sampler on the felt covered canvas. Using straight pins, pin the sampler to the felt background.
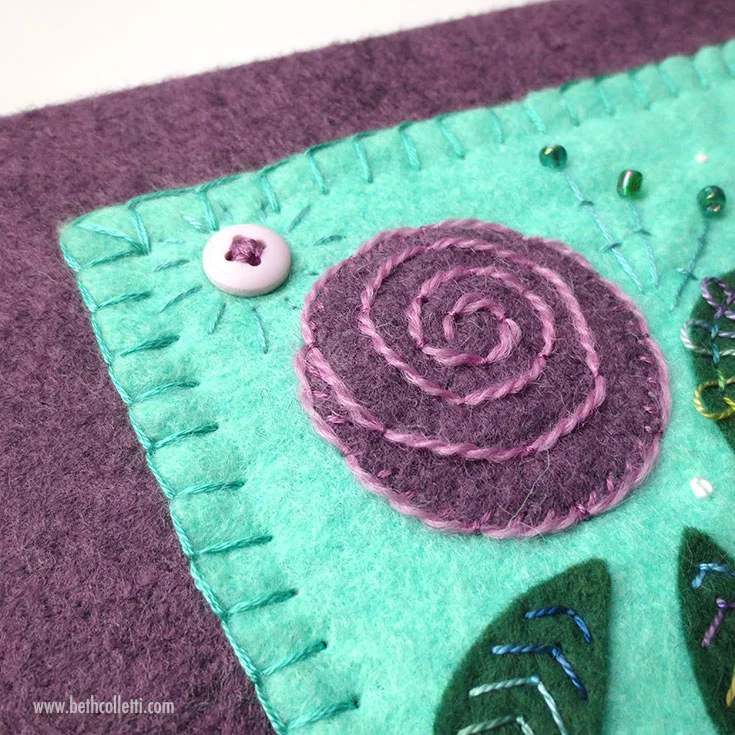
Next, thread your needle and secure the felt sampler to the background using the blanket stitch, or another stitch of your choice.
At this point you can either display your finished felt appliqué sampler, or if you’d like a neater back, move on to step 5.
Step 5 (Optional) - Add a felt backing and a sawtooth hanger.
To give your mounted felt appliqué sampler a neater finish on the back, cut out a piece of felt slightly smaller than your stretched canvas. Adding a line of glue around the felt, affix it to the back of your canvas frame. Once the glue is dry, hammer a sawtooth hanger through the fabric and into the top back edge of your frame. Your 30 Days of Felt Appliqué art is ready to hang or gift!
Did you create a felt sampler during 30 Days of Felt Appliqué? Share it on Instagram tagging @bethcolletti and use the hashtag #stitchingwithbeth.
(I am an Amazon Associate and from time to time will use affiliate links for products that I love, or that I think you will find useful.)