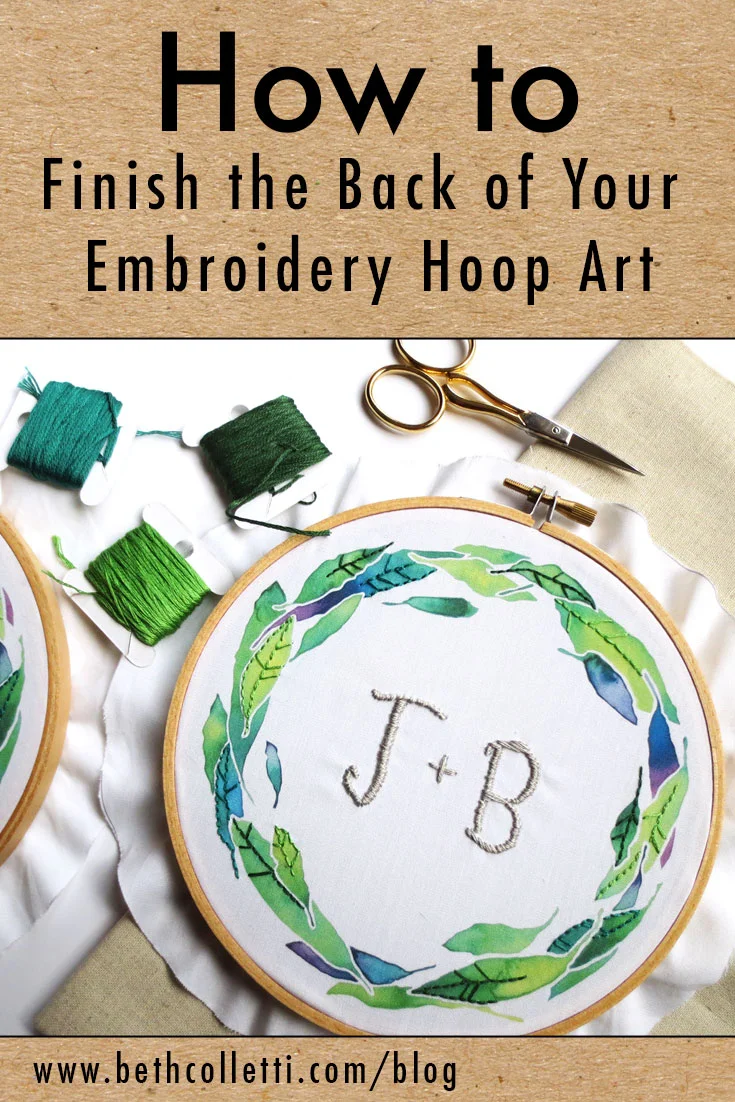
Once you’ve completed an embroidery project, there are several different ways you can display your fiber art. One of those is by keeping the art right in the hoop. Today I’m going to share two simple ways you can finish off your embroidery hoop art so it can be displayed right in the hoop.
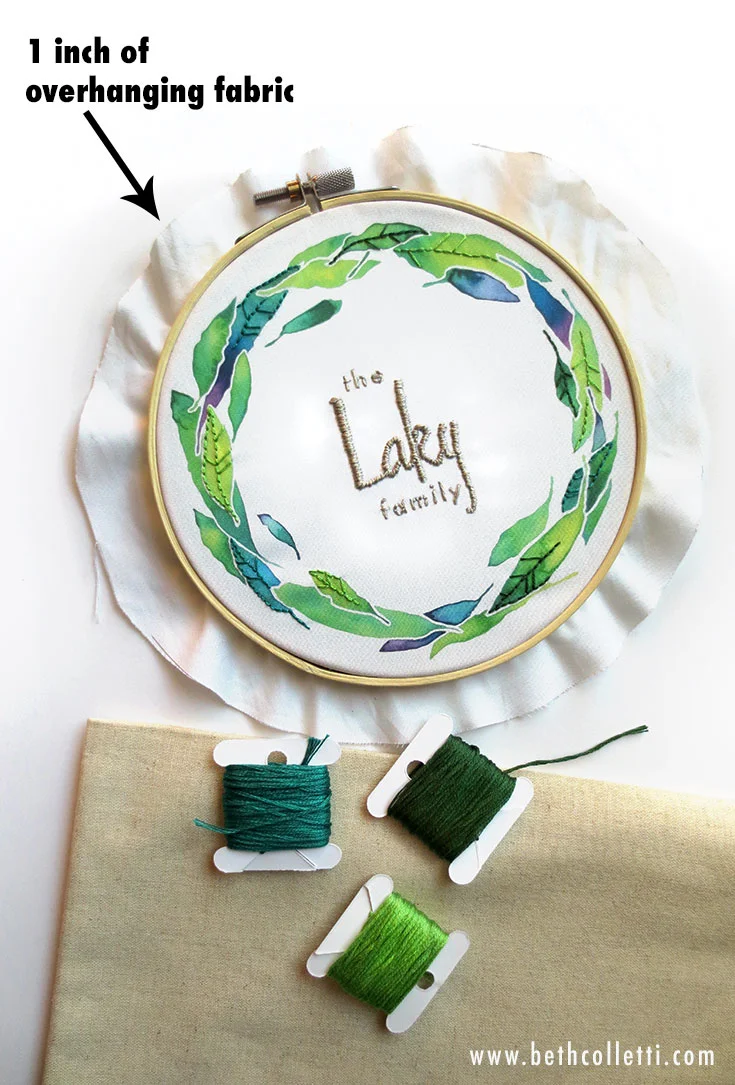
Before you get started, use a heavy duty pair of scissors to trim off any excess fabric. You want to leave about an inch of overhanging fabric. Too little may be tough to wrap around the back edge. Too much can cause the fabric to bunch up in the center of the hoop and create lumps.
METHOD 1: Gluing the fabric
Turn the stretched hoop art over so you are looking at its back. Next use hot glue or craft glue along the inside of the back of the hoop. Gradually press the overhanging fabric into the glue.

METHOD 2: Cinching the fabric
Measure a length of 6-strand embroidery floss about the same as the circumference of your embroidery hoop. This will give you plenty to stitch with. Tie a double knot at one end and thread your needle. Turn the stretched hoop art over so that you are looking at its back. You will be stitching a running stitch around the edge of the overhanging fabric, essentially cinching it together as shown in the photo below. (For a demo of the running stitch visit www.bethcolletti.com/videos)
Once you have stitched around the overhanging fabric (pulling the fabric into the center of the hoop) and returned to the spot where you first inserted your needle, pull the thread tight to draw the fabric as close together as possible, and stitch through the fabric a few times in one spot to reinforce your end point. Then you can clip off your extra floss.
Ta-da! Now your embroidery hoop art is ready to display!
